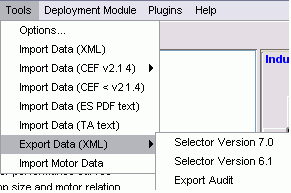
To prepare data for deployment, it must be converted
to a XML file format. This is accomplished in the SKB using the Export Data (XML) function. After
the data is successfully "exported", the files can be uploaded
to the deployment module ("Version Control"), then deployed
to the Selector server.
To export data:
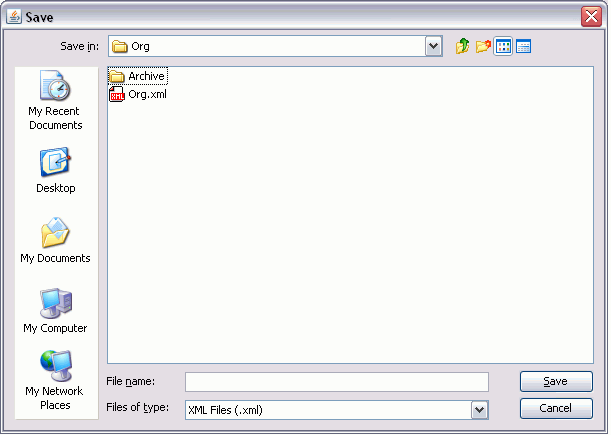
Organization Data - All organization
data is exported at once. Individual organization tables cannot be exported.
4. Pick the Selector
Version
of the server you will be deploying to. Typically, the older version is
for production, and the newer one is the beta version. Export Audit will
skip straight to step 10, and no XML file will be saved.
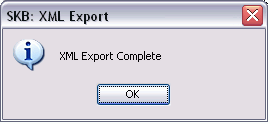
Review the export
log file, make any necessary changes (errors must be fixed, warnings should
be reviewed), and export again if necessary. More
on errors and warnings
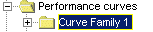
Performance Curves - A complete curve family
is exported as one file. Individual curves cannot be exported.
Select
the Selector
Version
of the server you will be deploying to. Typically, the older version is
for production, and the newer one is the beta version. Export Audit will
skip straight to step 11, and no XML file will be saved.
12.
Review the export log file, make any necessary changes (errors must be
fixed, warnings should be reviewed), and export again if necessary. More
on errors and warnings
Product Line - A
complete product line is exported as one file. Individual pump
sizes cannot be exported.
Pick the
Selector
Version
of the server you will be deploying to. Typically, the older version is
for production, and the newer one is the beta version. Export Audit will
skip straight to step 11, and no XML file will be saved.
Review
the export log file, make any necessary changes (errors must be fixed,
warnings should be reviewed), and export again if necessary. More
on errors and warnings

.gif)